
I recently embarked on a new commissioned project where the client wanted to keep costs down without compromising quality. To achieve this, we agreed to use mahogany veneer instead of solid wood. While the veneer maintained the rich grain and warmth of mahogany, it introduced the challenge of concealing all exposed plywood edges.
Embracing Constraints: Veneer vs. Solid Wood
Choosing veneer over solid wood is a smart way to balance beauty and budget. Veneer offers the same stunning appearance as solid mahogany at a fraction of the cost and weight. However, its thin profile leaves the plywood core visible along cut edges—a detail no client appreciates.
The Hidden Challenge: Plywood Edges to Hide
Every sheet of plywood reveals its layered interior once it’s cut to size. Left untreated, those exposed edges break the illusion of solid wood and detract from the piece’s overall elegance. Traditional manufacturers solve this with iron-on edge banding, but I wanted a solution that felt just as handcrafted as the rest of the project.
Our Resourceful Solution: Homemade Solid Mahogany Edge Banding
Rather than relying on off-the-shelf strips, I turned leftover solid mahogany into custom edge banding. Here’s how it unfolds:
- Milling a small block of mahogany to a uniform thickness
- Resawing it into ultra-thin strips on the bandsaw or table saw.
- Jointing and sanding each strip to a precise, consistent width
- Applying thin-set glue and clamping the banding to the veneer edges
- Final sanding and finishing to blend the banding seamlessly
Step-by-Step Process Overview
- Prepare the Mahogany Block
Cut a scrap piece of solid mahogany slightly oversized to your desired banding thickness. - Bandsaw Resawing
Adjust the fence accurately, then slow-feed the block through the bandsaw or table saw to yield continuous strips. - Jointing and Planing
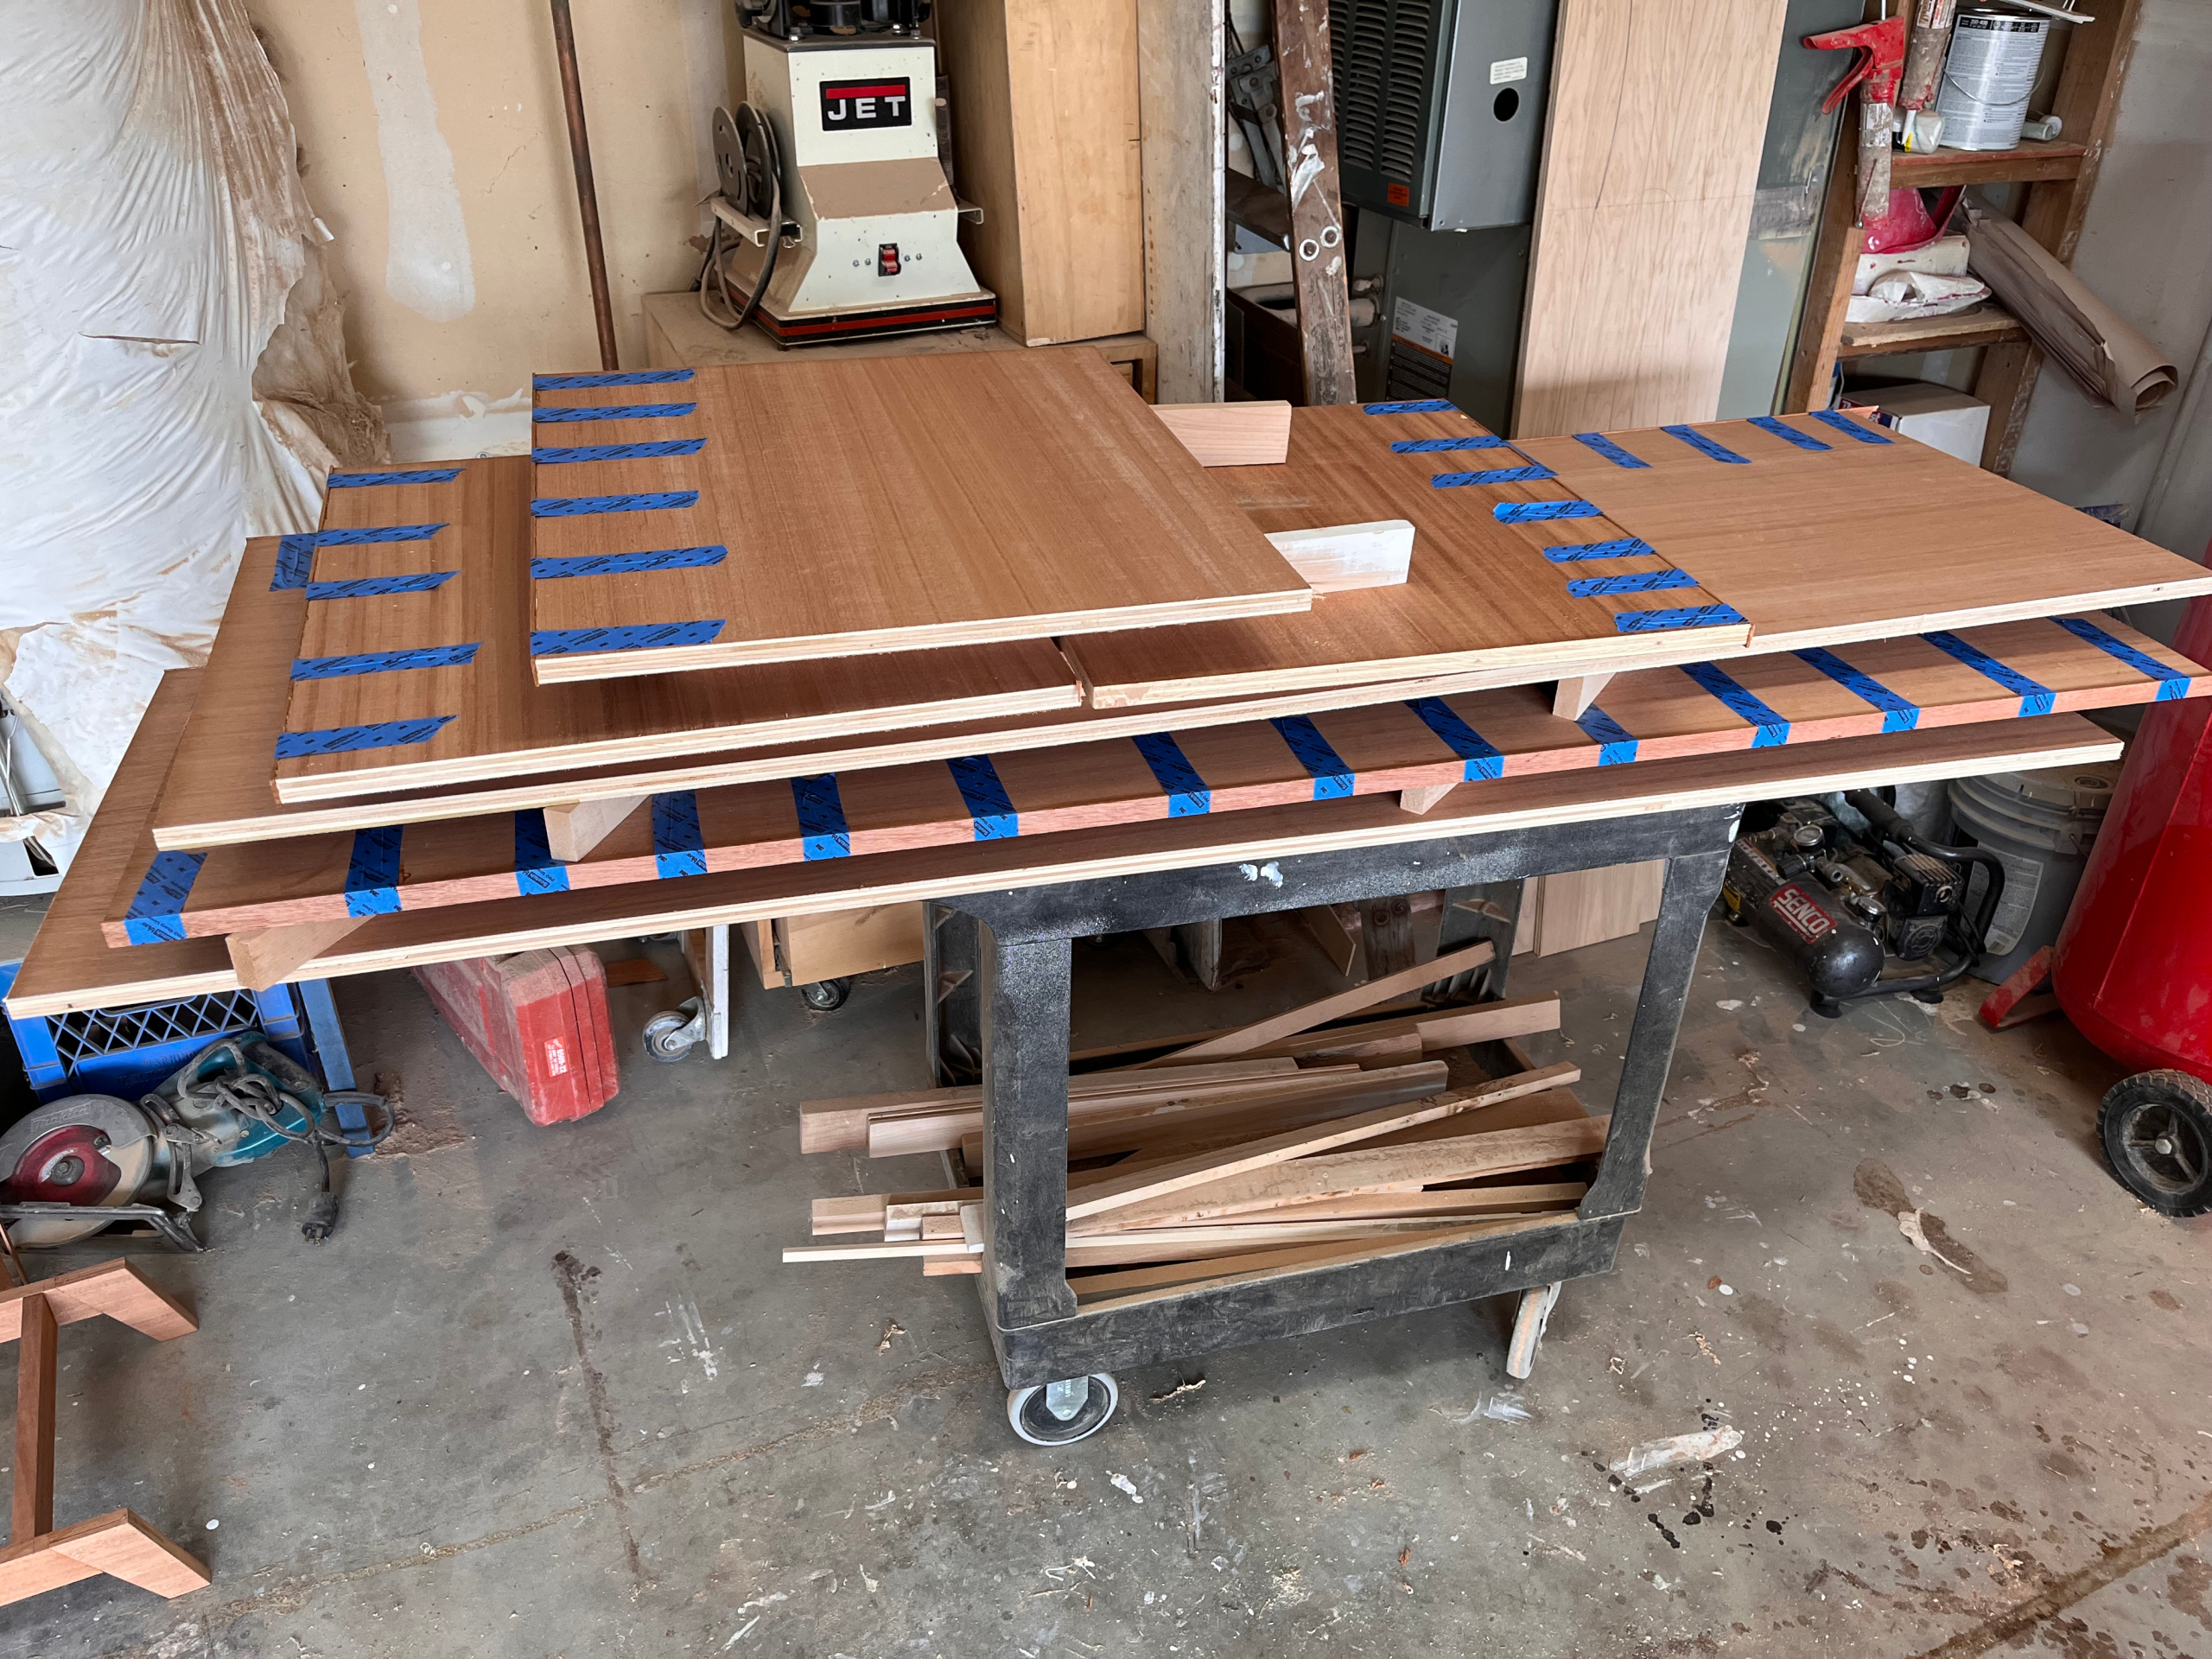
Run each strip over your jointer and planer to achieve uniform thickness and straight edges. - Adhesion and Clamping
Use a water-resistant wood glue, align the banding, and clamp firmly until fully cured. I used tape. - Final Touches
Trim excess banding flush, sand progressively to 320 grit, and apply your preferred finish to match the veneer.
Reflection on Craftsmanship and Sustainability
This project reminds me why I fell in love with woodworking: the opportunity to solve challenges creatively while minimizing waste. Crafting edge banding from leftover material not only preserves resources but also reinforces the narrative of each piece as wholly handmade. It’s a small touch that elevates the finished furniture from merely functional to a testament of thoughtful craftsmanship.
Watch the Full Video
Subscribe to get access
Read more of this content when you subscribe today.

Subscribe to continue reading
Subscribe to get access to the rest of this post and other subscriber-only content.